 Merken
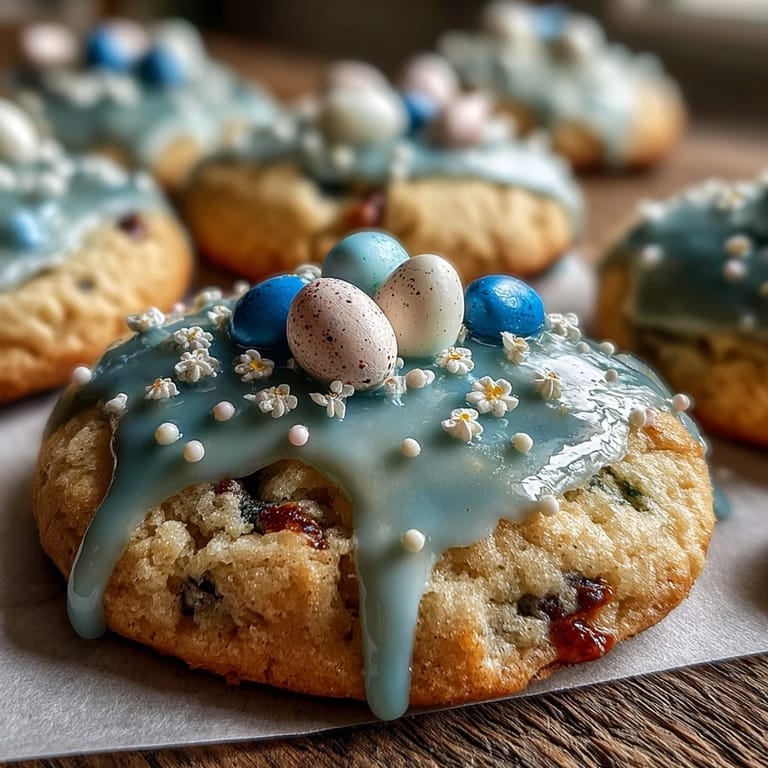
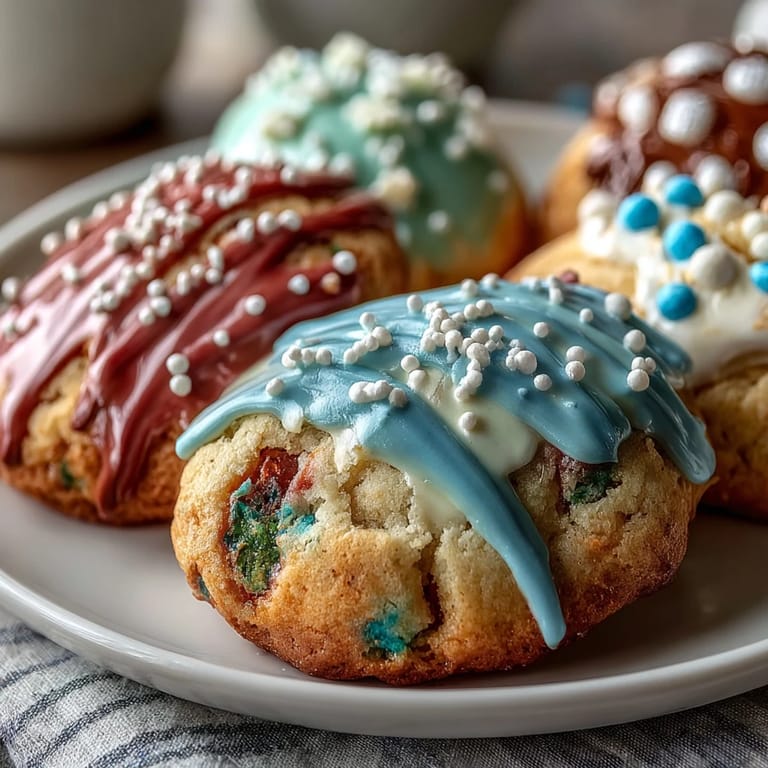
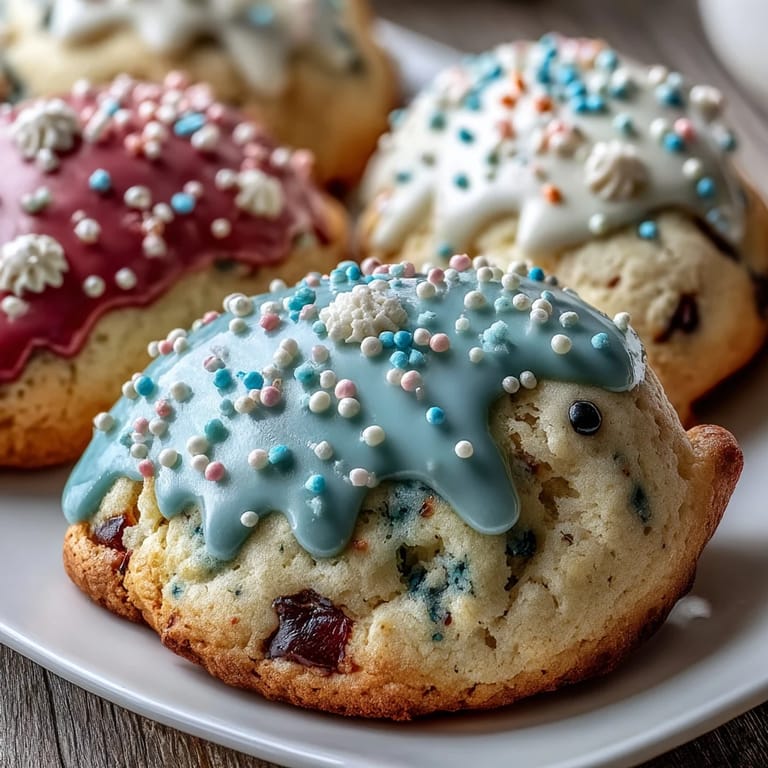
 My kitchen smells like butter and vanilla every Easter, and it's entirely because of these cookies. There's something about the way the dough comes together—smooth and forgiving—that made me fall in love with them years ago when I needed something beautiful to bring to a spring gathering. The real magic happens when you pipe those soft pastel icings across the cooled cookies, watching them transform into edible art. What started as a simple idea became a tradition I look forward to every spring.
I remember my neighbor peering over the fence while I was piping Easter eggs, asking if I'd gone professional because the colors looked so vibrant and intentional. That moment—when someone sees food as art rather than just sustenance—is when I knew these cookies were worth the extra decorating time. She ended up learning the technique that afternoon, and now we compete every spring over whose bunnies look more cheerful.
Ingredients
- All-purpose flour (2 1/2 cups): The foundation that keeps these cookies tender rather than tough; don't sift it beforehand unless you love a delicate crumb.
- Unsalted butter (3/4 cup): Must be soft to the touch so it creams properly with sugar, creating that light, airy base that makes people ask if you've been baking professionally.
- Granulated sugar (1 cup): The sweetness should taste bright and clean, not one-note, which is why quality matters here more than you'd think.
- Large egg: Room temperature works best because cold eggs fight against the butter rather than binding smoothly into it.
- Pure vanilla extract (2 teaspoons): Use the real thing; imitation extract tastes like regret, and your cookies deserve better.
- Baking powder (1/2 teaspoon): Just enough lift to make them tender without turning them cakey or dense.
- Salt (1/4 teaspoon): A whisper of salt that nobody will taste directly but everyone will notice in how the other flavors sing.
- Milk (1 tablespoon): The secret ingredient that relaxes the dough and keeps it from cracking when you roll it out.
- Powdered sugar (3 cups): Sift it before you use it so your icing stays silky smooth without any grainy texture.
- Meringue powder (2 tablespoons): This stabilizes the royal icing so it holds its shape and doesn't weep into sadness after a day or two.
- Warm water (5-6 tablespoons): Start with less and add gradually because icing consistency is personal—some people flood, some people pipe.
- Pastel gel food coloring: Gel colors give you those soft, Easter-morning shades without making the icing runny like liquid colors would.
Tired of Takeout? 🥡
Get 10 meals you can make faster than delivery arrives. Seriously.
One email. No spam. Unsubscribe anytime.
Instructions
- Combine your dry ingredients:
- Whisk the flour, baking powder, and salt together in a medium bowl and set it aside; this prevents overmixing once your wet ingredients join the party.
- Cream butter and sugar until fluffy:
- Beat them together for 2 to 3 minutes with an electric mixer, watching as the mixture transforms from dense to light and pale—this is where the cookies get their tender crumb. If you shortcut this step, your cookies will be denser and grainier, which sounds like something worth avoiding.
- Add egg and vanilla:
- Mix until completely combined, scraping down the sides of the bowl because stray butter streaks mean uneven baking.
- Incorporate dry ingredients gently:
- Add the flour mixture slowly on low speed, then add the milk and mix just until the dough comes together without overworking it. Overworked dough becomes tough cookies, and nobody celebrates those.
- Chill the dough:
- Divide it in half, flatten into discs, wrap in plastic wrap, and refrigerate for at least 1 hour or overnight if you're feeling patient. Cold dough is easier to roll and keeps its shape better during baking.
- Prepare to bake:
- Preheat your oven to 350°F and line your baking sheets with parchment paper so nothing sticks or burns.
- Roll and cut:
- On a lightly floured surface, roll the dough to 1/4-inch thickness and cut into Easter shapes—eggs, bunnies, chicks, whatever speaks to you. Work quickly so the dough stays cool and cooperative.
- Space cookies on sheets:
- Arrange them about 1 inch apart because they spread a little during baking, and you want each cookie to bake evenly.
- Bake until edges turn golden:
- Bake for 8 to 10 minutes, watching carefully toward the end because every oven has moods and the difference between perfect and slightly overbaked is sometimes just 60 seconds. Let them cool on the sheet for 5 minutes, then transfer to wire racks.
- Make the royal icing:
- Combine powdered sugar and meringue powder, add warm water, and beat on low until smooth, then on high for 3 to 4 minutes until stiff peaks form—this is when your icing becomes magical and holds its shape.
- Tint your icing with pastel colors:
- Divide the icing into bowls and add gel food coloring drop by drop, stirring until you achieve those soft, spring-morning shades. Gel coloring gives you control that liquid coloring refuses to provide.
- Decorate with intention:
- Transfer icing to piping bags and decorate the cooled cookies however your mood dictates, letting each one set completely before you stack them. This is where impatience leads to smudged colors and ruined designs, so patience is your friend here.
 Merken
 There was a moment last Easter when my daughter presented these cookies to her teacher with such pride that I realized these weren't just treats anymore—they were something she'd made with her own hands, decorated with her own choices. That's when I understood why I keep coming back to this recipe every spring; it's not just about the cookies, it's about what they represent.
The Secret to Tender Cookies
The milk is doing something quiet but important that nobody talks about—it's relaxing the gluten in the flour and keeping the dough from drying out during rolling. I discovered this by accident when I spilled milk into a batch and then realized the resulting cookies were noticeably softer and more forgiving. Now I always include it intentionally, and it's become non-negotiable in my version of this recipe.
Royal Icing That Actually Behaves
The meringue powder stabilizes everything and prevents the weeping and cracking that happens when royal icing sits for a day or two. I learned this lesson through disappointed cookies that looked sad by day three, and now I never make royal icing without it. The icing should look glossy and thick enough to hold peaks when you lift the whisk, but still spreadable with a spatula if you want to flood larger areas.
Design and Decorating Moments
Decorating is where cookies become personal expression—you're not following anyone's vision but your own, mixing colors and patterns until something emerges that feels exactly right. Some cookies end up minimalist with just a thin outline, while others become elaborate with stripes and dots and tiny details that take ten minutes each. The beauty is that there's no wrong answer, just different approaches to the same canvas.
- Thin your icing with one or two drops of water at a time if you want to flood larger areas without it looking watery or flat.
- Use a toothpick to drag through wet icing for patterns—a simple tool that creates effects that look far more complicated than they actually are.
- Store decorated cookies in an airtight container for up to a week and they'll taste as fresh as the day you made them, icing perfectly set and ready to impress.
 Merken
 These cookies represent spring to me—hope and color and the quiet satisfaction of making something beautiful with your own hands. Bake them this Easter and watch how they brighten the table and the faces around it.
Antworten auf häufige Fragen
- → Wie wird der Teig für die Plätzchen zubereitet?
Der Teig entsteht durch das Zusammenschlagen von Butter und Zucker, anschließend werden Ei und Vanille hinzugefügt. Nach dem Mischen der trockenen Zutaten wird alles verbunden und gekühlt, um die Textur zu verbessern.
- → Wie vermeidet man zu harte Plätzchen?
Das Überbacken vermeiden und die Plätzchen nur leicht goldbraun backen. Eine ausreichende Kühlzeit vor dem Backen sorgt zudem für bessere Konsistenz.
- → Wie wird die pastellfarbene Glasur hergestellt?
Die Glasur besteht aus Puderzucker und Meringue-Pulver, die mit Wasser zu einer festen Konsistenz geschlagen werden. Anschließend wird die Glasur mit gelartiger Lebensmittelfarbe in sanfte Pastelltöne eingefärbt.
- → Wie lange sollten die Plätzchen vor dem Verzieren abkühlen?
Die Plätzchen sollten vollständig auf einem Gitter abkühlen, mindestens 20 Minuten, um ein Verlaufen der Glasur zu verhindern.
- → Wie werden die Plätzchen am besten gelagert?
In einem luftdichten Behälter bleiben die dekorierten Plätzchen bis zu einer Woche frisch und behalten ihre Zartheit.